FIFA 2018 World Cup Live Map Using Twitter and Scaledrone
As the FIFA World Cup has just ended, we decided to put Scaledrone for a spin and created a live map visualising FIFA tweets all over the world.
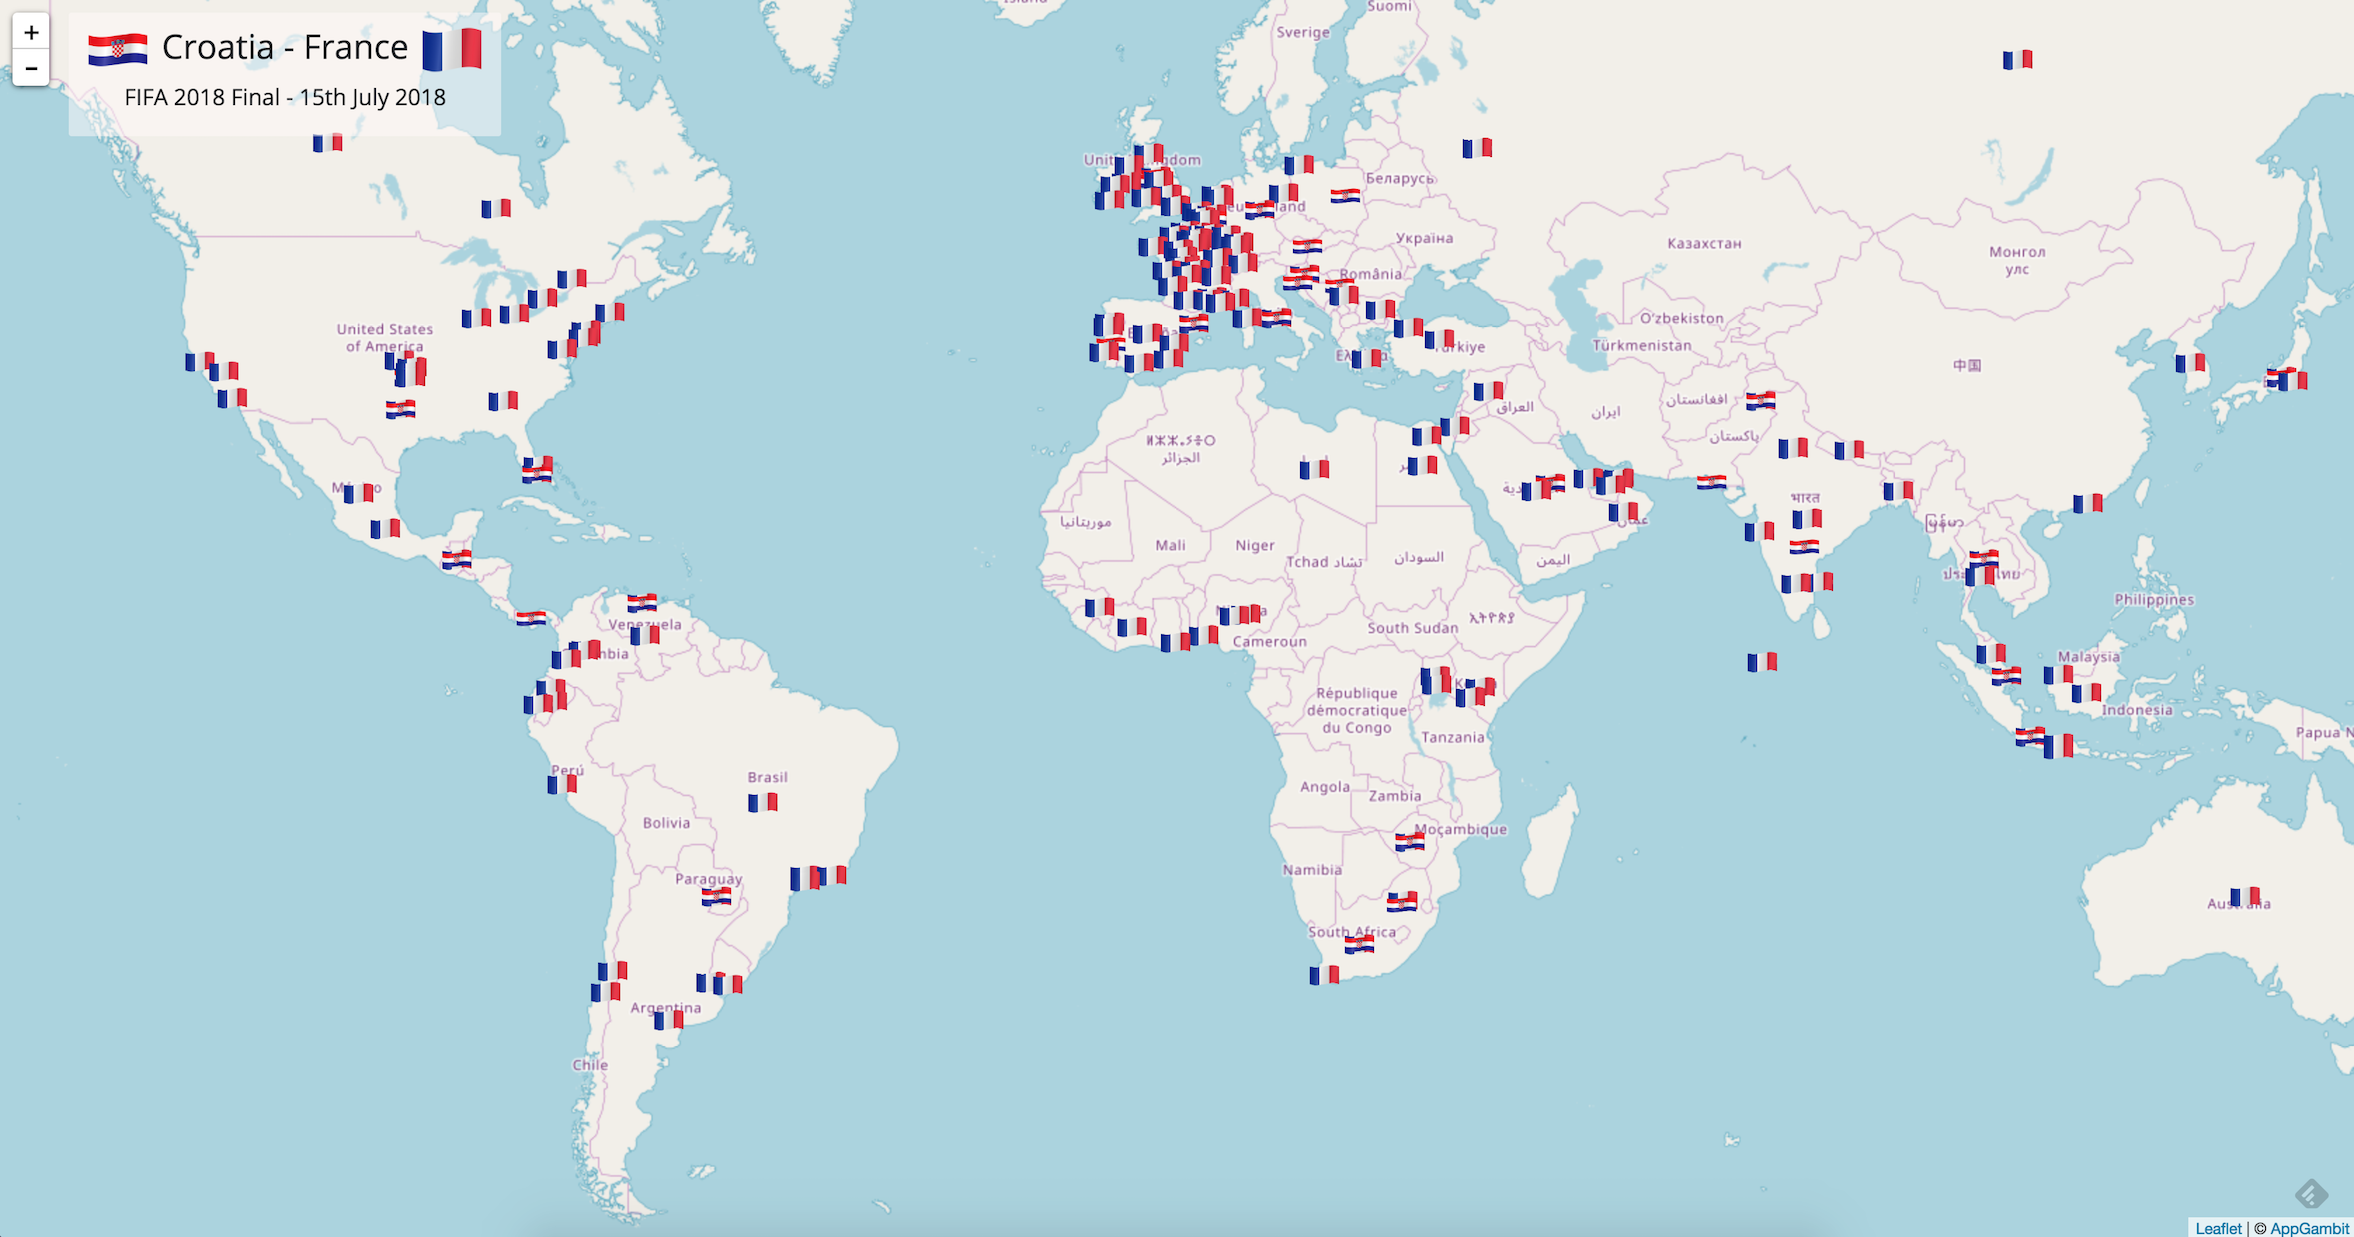
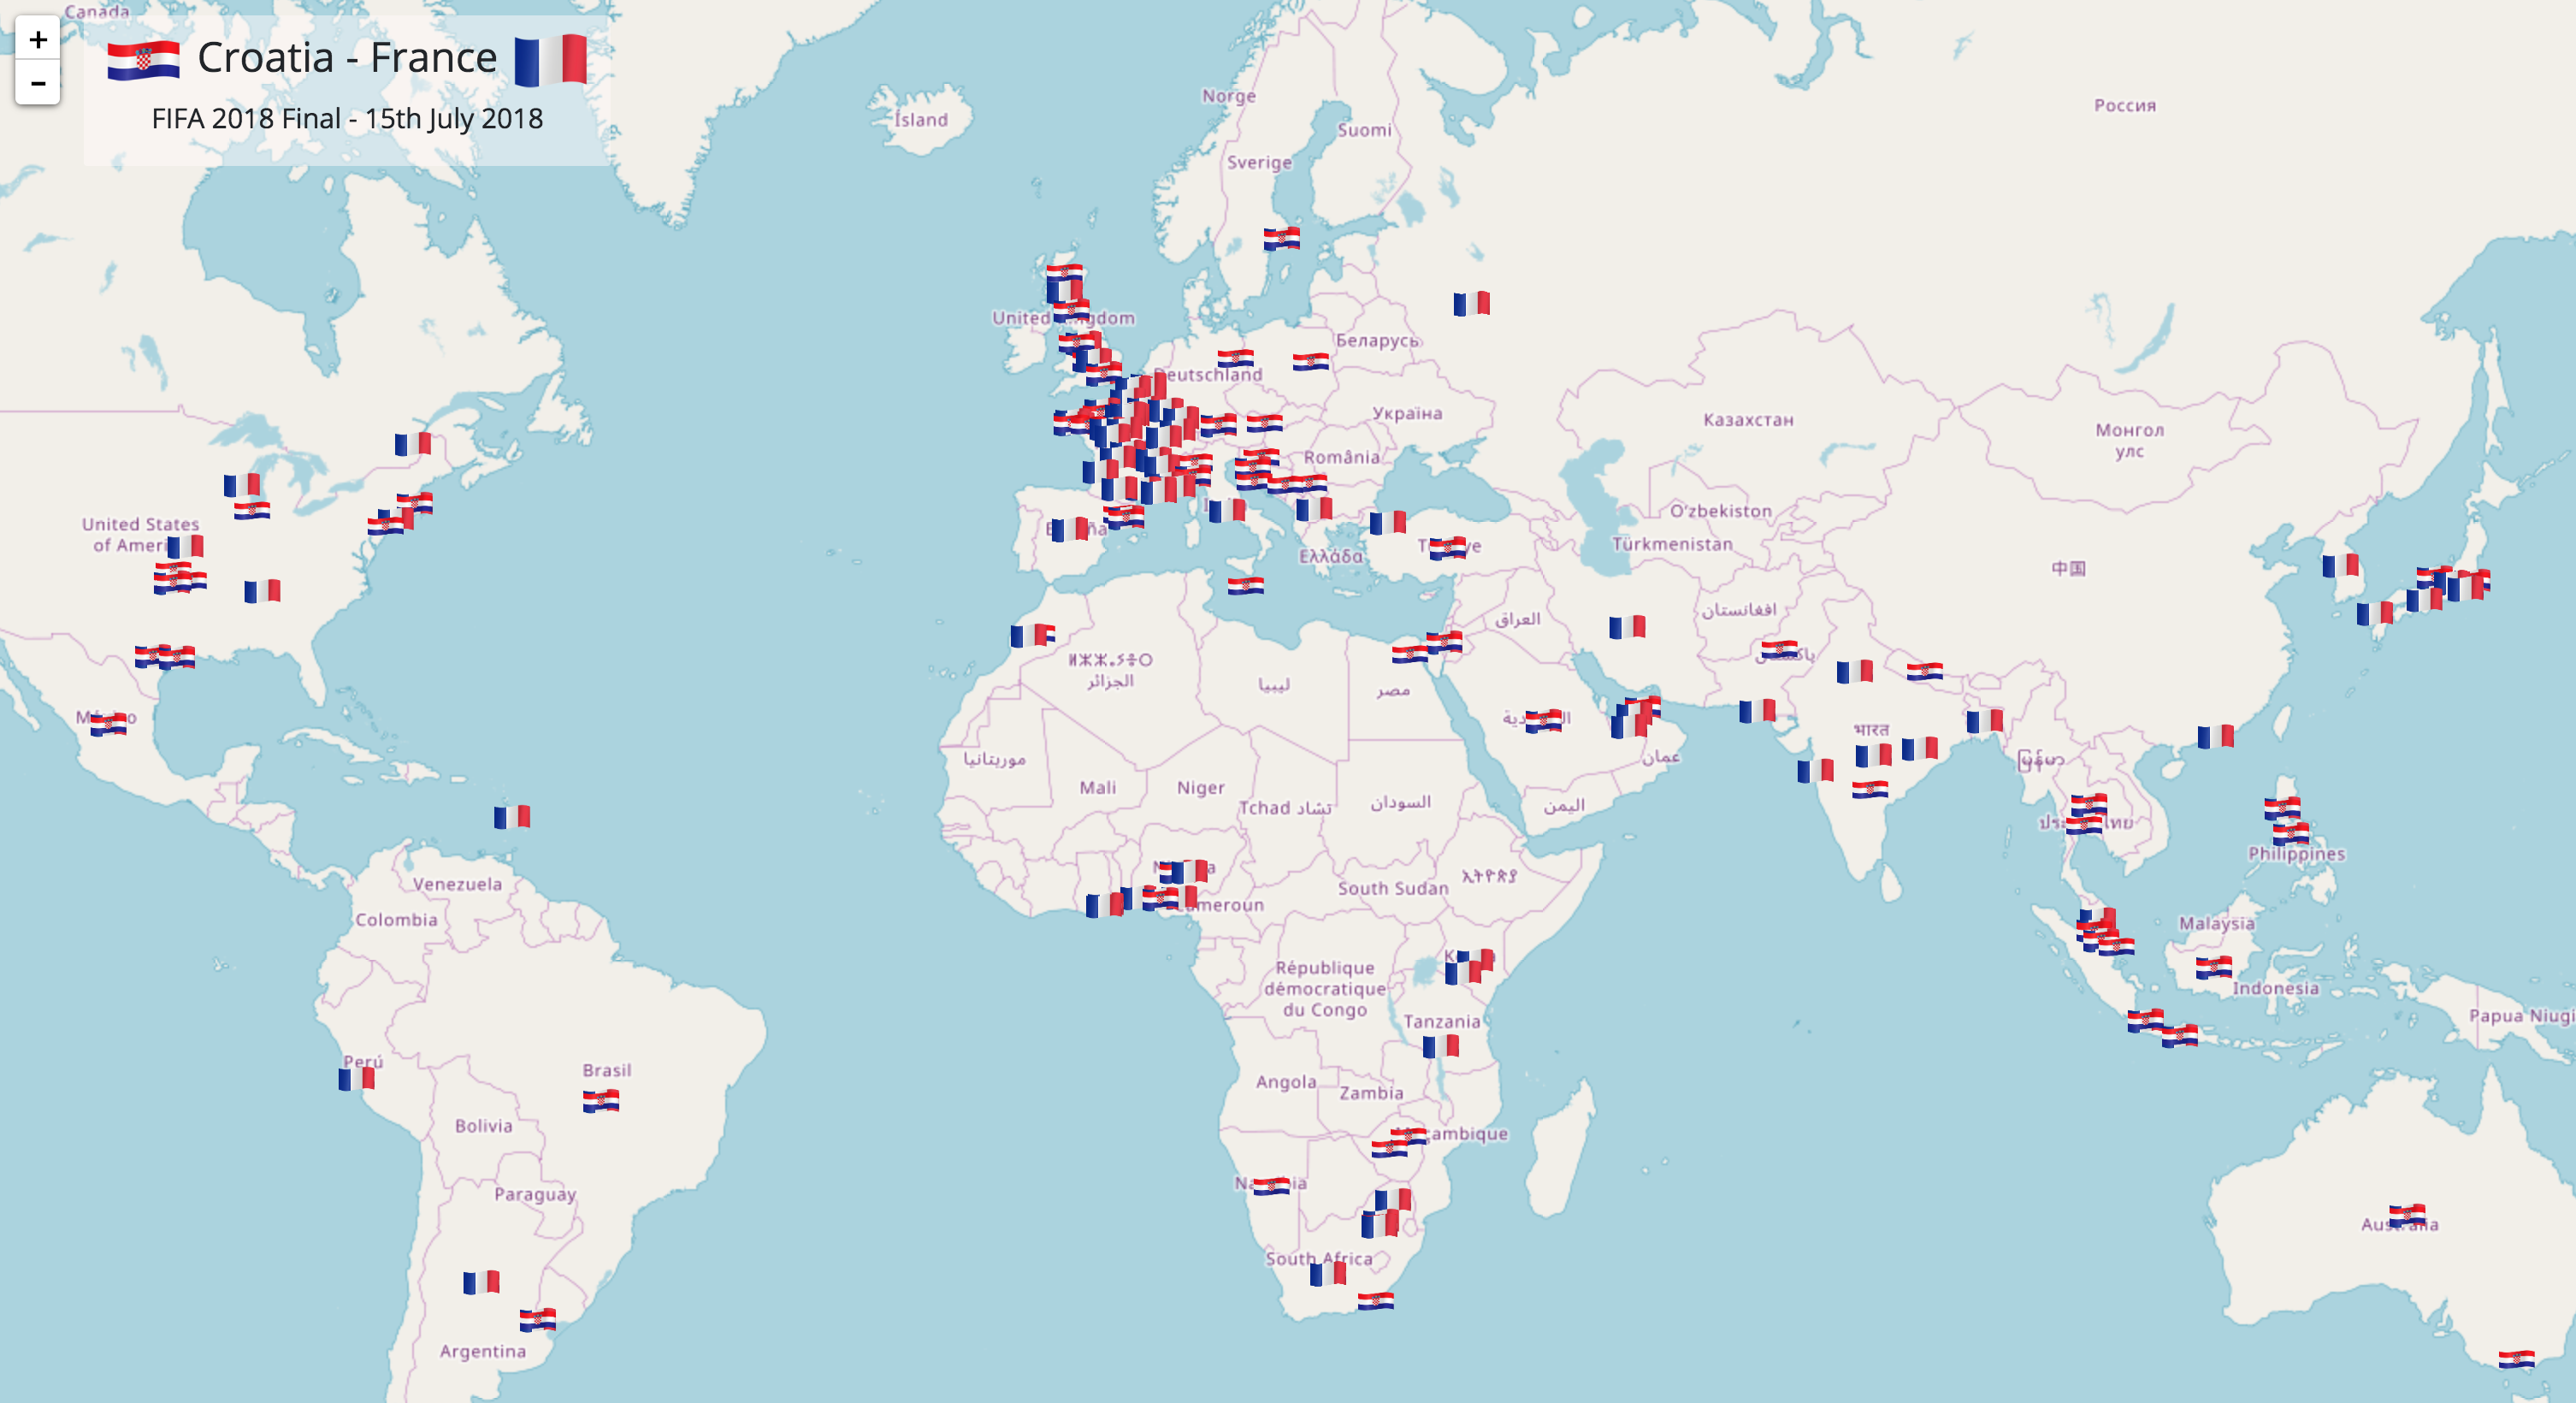
Here is the snap of the application we put together. It pulls the tweets related to France, Croatia and FIFA Worldcup from Twitter and puts them on the OpenStreetMap Map using Scaledrone as a communication channel.
Check out the live app here.
Server-side application
The application's backend is very simple. A node.js server continuously listens for the Twitter stream for tweets including France, Croatia or Worldcup hashtags. Once it finds them, the server looks for the geolocation value of each tweet, if the geolocation data is available we convert the string location value using Google Geocoding service. After that, we have the data ready, and we publish it to the browsers which have the front-end application open using Scaledrone.
Let's look at how we put together the server.
Configuration
There are a set of configuration keys required to be set before we can run this application. The following keys are part of the config.json file.
{
  "twitter_consumer_key": "",
  "twitter_consumer_secret": "",
  "twitter_access_token": "",
  "twitter_access_token_secret": "",
  "scale_drone_channelId": "",
  "scale_drone_secretKey": "",
  "google_geolocation_key": ""
}
For Twitter API access, we need to go to the https://apps.twitter.com/ and create a new application. Once we create a new application, Twitter will provide the Consumer Key and Consumer Secret keys. Now we can generate an Access Token for the application.
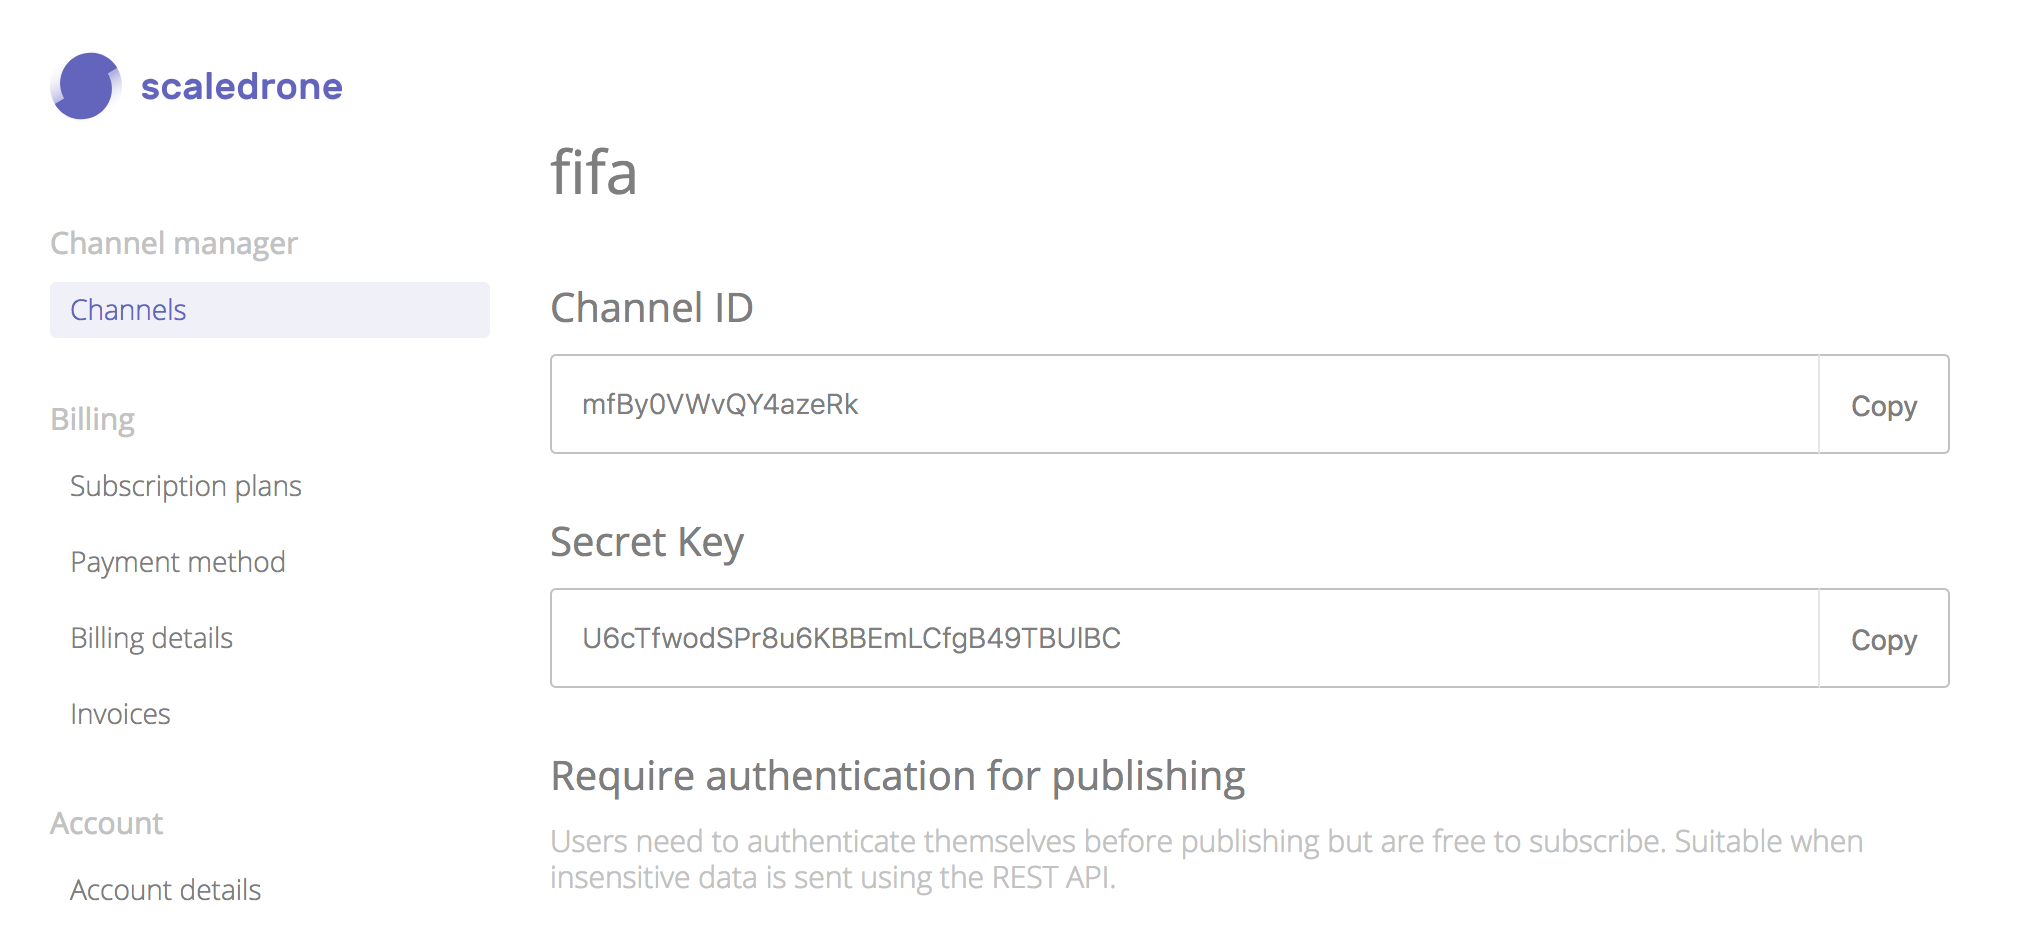
For Scaledrone access, which we use to send realtime updates to the browser, we need to go to the Scaledrone Dashboard and create a new channel.
We are also using Google Geocoding APIs, which does the string-to-geo location conversion. To generate the Google Geocoding API keys, follow the steps mentioned here.
Twitter Stream
We are using the twit library to fetch the data from the Twitter a stream based on a pre-defined list of hashtags.
$ npm install twit --save
For twit to work, we will need to give a list of hashtags to listen to along with the Twitter API configuration.
const Twit = require('twit');
const config = require('config');

const twitter = new Twit({
  consumer_key: config.twitter_consumer_key,
  consumer_secret: config.twitter_consumer_secret,
  access_token: config.twitter_access_token,
  access_token_secret: config.twitter_access_token_secret
});

const tags = [
  '#WorldCupFinal','#CROATIA','#CRO','#WorldCup','#WorldCup2018',
  '#FRA','#FRANCE','#FiersdetreBleus','#FIFAWorldCup2018',
  '#WorldCupFinal2018','#Vatreni','#hrvatska',
  '#lesblues','#lafrance','#flamingpride',
  '#beproud','#budiponosan','#griezmann','#modric',
  '#rakitic','#mbappe','#pogba','#crofra',
  '#fracro','#hns'
].map(t => t.toLowerCase());

const tweetStream = twitter.stream('statuses/filter', {
  track: tags.join(',')
});

console.log('Ready to read Twitter Stream');

tweetStream.on('tweet', tweet => {
  post(tweet); // post
  if (tweet.retweeted_status) {
    post(tweet.retweeted_status);
  }
});
See the full file here.
Configure the Scaledrone JS SDK
Initialising the Scaledrone Node.js library is very easy. Just install the library and create a new instance with the keys received from the Scaledrone dashboard.
$ npm install scaledrone-node-push --save
const Scaledrone = require('scaledrone-node-push');

const sd = new Scaledrone({
  channelId: '<your channel id>',
  secretKey: '<your channel secret key>'
});
Publishing the data
Here is the code which sends the data to the browsers. We are pushing a simple JSON message to the Scaledrone room.
const sd = require('sd');

/*
const message = {
  loc: loc, // to display the flag on Map
  team: 'cro', // for displaying the country's flag on the Map
  url: url, // to redirect to actual Tweet from Map
  name: name // to display the Twitter handle on Map
};
*/

const publish = (team, loc, url, name) => {
  // Room where we will be publishing the data
  const scaledroneRoom = 'fifa';
  if (team === 'cro') {
    const message = {loc, team: 'cro', url, name };
    sd.publish(scaledroneRoom, message, error => {
      if (error) {
        console.log('sd error', error);
      }
    });
  }

  if (team === 'fra') {
    const message = { loc, team: 'fra', url, name };
    sd.publish(scaledroneRoom, message, error => {
      if (error) {
        console.log('sd error', error);
      }
    });
  }
};
Client-side application
The client-side application is built using some HTML and JavaScript. The map is drawn using LeafletJS and the messages are live geolocations are received using the Scaledrone JS API.
Leaflet for Maps
Leaflet is the leading open-source JavaScript library for mobile-friendly interactive maps. It has all the mapping features most developers ever need.
I really like LeafletJS, it has tons of plugins to customise a map for varying requirements.
Configuring the Scaledrone SDK
The following code snippet connects to a Scaledrone channel and subscribes to data from the 'fifa' room. Once the data arrives, we update the map.
const drone = new ScaleDrone('<channel id>');
drone.on('open', error => {
  if (error) return console.error(error);
  map.invalidateSize();
  const room = drone.subscribe('fifa');

  room.on('data', $scope.updateTeams);
});
Rendering on the Map
Once we receive data from Scaledrone, render it on the Leaflet map. We display the corresponding country flag, based on the data that we have received from the server side. To keep the data live, I am removing the marker flag after a few minutes.
$scope.teams = {
    croatia: [],
    france: []
};

// Initialise map icons for both the countries
const croatiaIcon = L.icon({
    iconUrl: './icons/croatia.png',
    iconSize: [25, 15], // size of the icon
});

const franceIcon = L.icon({
    iconUrl: './icons/france.png',
    iconSize: [25, 15], // size of the icon
});

// Initialise Leaflet Map
const map = L.map('map', {
    center: [46.694640, 2.409687],
    zoom: 3,
    minZoom: 2
});

// Create a flag on Map, and set a timeout to remove it after some time
$scope.updateTeams = (message) => {
    if (message.team === 'cro') {
      $scope.teams.croatia.push(message.loc);
    } else {
      $scope.teams.france.push(message.loc);
    }

    console.log([message.loc.lat, message.loc.lng])
    const id = L.marker([message.loc.lat, message.loc.lng], {
      icon: message.team === 'cro' ? croatiaIcon : franceIcon,
      dragable: true,
      title: message.team === 'cro' ? 'Croatia' : 'France',
      autoPan: true,
      blur: 15
    }).addTo(map).bindPopup(`<a href="${message.url}" target="_blank">@${message.name}</a>`);

    $scope.removeMarker(id);
    $scope.$apply();
};
It's really fun to work on exciting applications when you have such a simple yet powerful set of frameworks available to quickly put everything together and start seeing the results.
You can download the full source code from here.
At Scaledrone we are always excited about exciting use cases for our platform. If you've built anything using Scaledrone or you have anything in mind, do let us know.
France Won the FIFA World Cup 2018 🎉 🙌 🙌 🎉