iOS Chat Tutorial Part 2: Typing Indicators and List of Online Users
Adding a chat screen to your app can make it easier for your users to communicate, making your app more engaging and useful. In Part 1 of the iOS Chat Tutorial, we created a basic chat app using Scaledrone and MessageKit.
In this part, we'll expand our chat app to include typing indicators and a list of online members. These can be useful features in any chat app and can both be easily implemented with Scaledrone. Let's get started!
Note: This tutorial starts off at the end of part 1. To follow along, either go trough part 1 of this tutorial, or download the source code for part 1 of this tutorial.
Showing Online Members
We'll start by adding presence indicators for online users. We'll do this by adding another view controller that shows online users in a table view. This view controller will be accessed from a navigation item from the main view controller of our app.
Open the project from part 1 of this tutorial, and open AppDelegate.swift. Change the contents of application(_:didFinishLaunchingWithOptions:) to the following:
let navigationController = UINavigationController(
  rootViewController: ViewController())
window?.rootViewController = navigationController
window?.makeKeyAndVisible()
return true
Instead of presenting the ViewController, this will make sure the first view controller in our app is a navigation controller. This will allow us to show the list of online members.
Let's build that list. Create a new UITableViewController subclass file called MembersViewController. This class will observe members joining and leaving, and will update a table view accordingly. Add the following to the class:
class MembersViewController: UITableViewController {

  var members: [Member] = []

  override func tableView(
    _ tableView: UITableView,
    numberOfRowsInSection section: Int) -> Int {

    return members.count
  }

  override func tableView(
    _ tableView: UITableView,
    cellForRowAt indexPath: IndexPath) -> UITableViewCell {

    let cell = UITableViewCell()
    cell.textLabel?.text = members[indexPath.row].name
    return cell
  }
}
This is standard UITableViewDataSource code to make sure we display the users. Next, we need to update the table view when the list of members changes. We'll do this by using Notification Center. ChatService will post a new notification when the list of online members changes. Our new view controller will listen to those notifications.
Go into ChatService.swift and add the following extension to the top of the file:
extension Notification.Name {
  static let MembersChanged = Notification.Name("MembersChanged")
}
This will make sure we can use a notification for when the members are changed. Now, back in MembersViewController.swift add these methods to the file:
override func viewDidLoad() {
  super.viewDidLoad()
  NotificationCenter.default.addObserver(self,
    selector: #selector(membersChanged),
    name: .MembersChanged,
    object: nil)
}

deinit {
  NotificationCenter.default.removeObserver(self)
}
When the view controller loads, we'll subscribe to notifications matching the name we defined earlier. If the object gets deleted, we have to make sure to unsubscribe from the notification. When a new notification comes in, membersChanged will handle that notification, so let's implement that method:
@objc func membersChanged(notification: Notification) {
  guard let newMembers = notification.object as? [Member] else {
    return
  }

  self.members = newMembers
  tableView.reloadData()
}
The notification includes new online members, so we have to pull them out of the notification and update our UI.
That's our table view controller implemented, but we need to show it on the screen. To do this, we'll add a new navigation item to our main view controller. Open ViewController.swift and add the following code to the top of viewDidLoad:
let item = UIBarButtonItem(
  title: "0",
  style: .plain,
  target: self,
  action: #selector(didTapMembersButton))
navigationItem.setRightBarButton(item, animated: false)
We create a new UIBarButtonItem and add it to the navigation bar. The title of this item will be the number of currently logged in users, which, for now, is 0. When the user taps the button, the didTapUsersButton method will get called:
@objc func didTapMembersButton() {
  let vc = MembersViewController()
  vc.members = self.members
  navigationController?.pushViewController(vc, animated: true)
}
Inside the method we'll create the members view controller and push it onto the navigation stack.
I mentioned earlier the title of the button will change to show the number of currently logged in members. To do this, we'll subscribe to the same notification as in the members view controller. Add the following to viewDidLoad:
NotificationCenter.default.addObserver(
  self,
  selector: #selector(membersChanged),
  name: .MembersChanged,
  object: nil)
We're going to keep track of online members inside an array, so let's add a property to the class:
var members: [Member] = []
Also add the following two methods, much like you did in the members view controller:
@objc func membersChanged(notification: Notification) {
  guard let newMembers = notification.object as? [Member] else {
    return
  }

  self.members = newMembers
  navigationItem.rightBarButtonItem?.title = "\(newMembers.count)"
}

deinit {
  NotificationCenter.default.removeObserver(self)
}
This will make sure we update the title whenever the number of members changes.
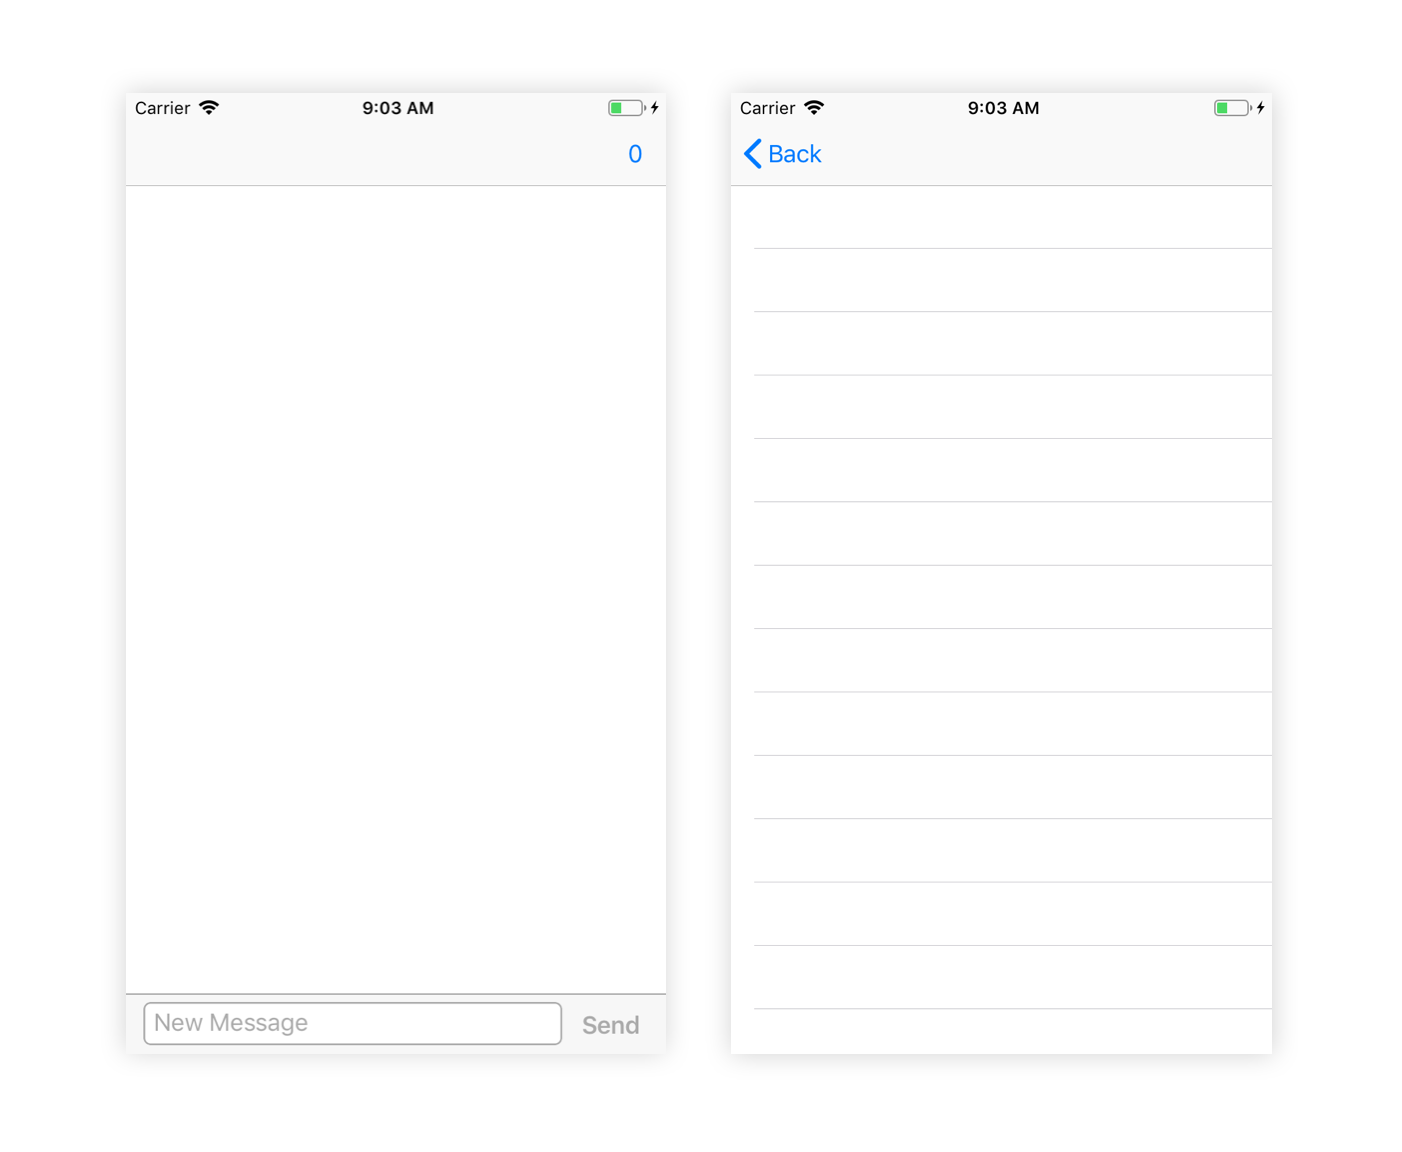
If you run the project now, you'll see a new button in the navigation bar which will lead you to an empty list of members.
Now it's time to actually listen to when new members join our room.
Listening to Changes
Scaledrone supports observable rooms. These are like regular rooms, i.e. members that join a room receive notifications sent to that room. They have an additional benefit, though: you can observe changes to the room. Changes like when a new member joins or leaves, which is exactly what we need.
In our ChatService, we'll maintain an array of current members in the room which we'll set when we first join a room. When a user leaves or joins, we'll update the array to reflect that change.
Open ChatService.swift and add the following property to the top of the class:
private(set) var members: [Member] = [] {
  didSet {
    NotificationCenter.default.post(name: .MembersChanged, object: members)
  }
}
This is our array of members in the room. Whenever we make a change to this list, we'll post a notification to update our UI.
Before we continue, we need to make sure we can easily construct a Member instance from Scaledrone's ScaledroneMember class. ScaledroneMember contains the client data (as JSON) that was mentioned in Part 1. Add the following extension to the top of the file:
extension Member {
  init?(scaledroneMember: ScaledroneMember) {
    guard let data = scaledroneMember.clientData else {
      return nil
    }
    self.init(fromJSON: data)
  }
}
To observe changes to a room, we have to implement ScaledroneObservableRoomDelegate, we'll do this by adding the following extension to the bottom of the file:
extension ChatService: ScaledroneObservableRoomDelegate {
  func scaledroneObservableRoomDidConnect(
    room: ScaledroneRoom,
    members: [ScaledroneMember]) {

    self.members = members.compactMap(Member.init)
  }

  func scaledroneObservableRoomMemberDidJoin(
    room: ScaledroneRoom,
    member: ScaledroneMember) {

    guard let newMember = Member(scaledroneMember: member) else {
      return
    }
    members.append(newMember)
  }

  func scaledroneObservableRoomMemberDidLeave(
    room: ScaledroneRoom,
    member: ScaledroneMember) {

    guard let leftMember = Member(scaledroneMember: member) else {
      return
    }

    if let index = members
      .firstIndex(where: { $0.name == leftMember.name }) {
      members.remove(at: index)
    }
  }
}
When we first join the room, we'll set the members array to a list of members we get from Scaledrone. When a new member joins, we'll add them to the array. When a member leaves, we'll find them in the array and remove them. This will make sure our array of members is always up to date.
Finally, we need to make sure we set ChatService as the observable delegate by adding the following line to the bottom of scaledroneDidConnect:
room?.observableDelegate = self
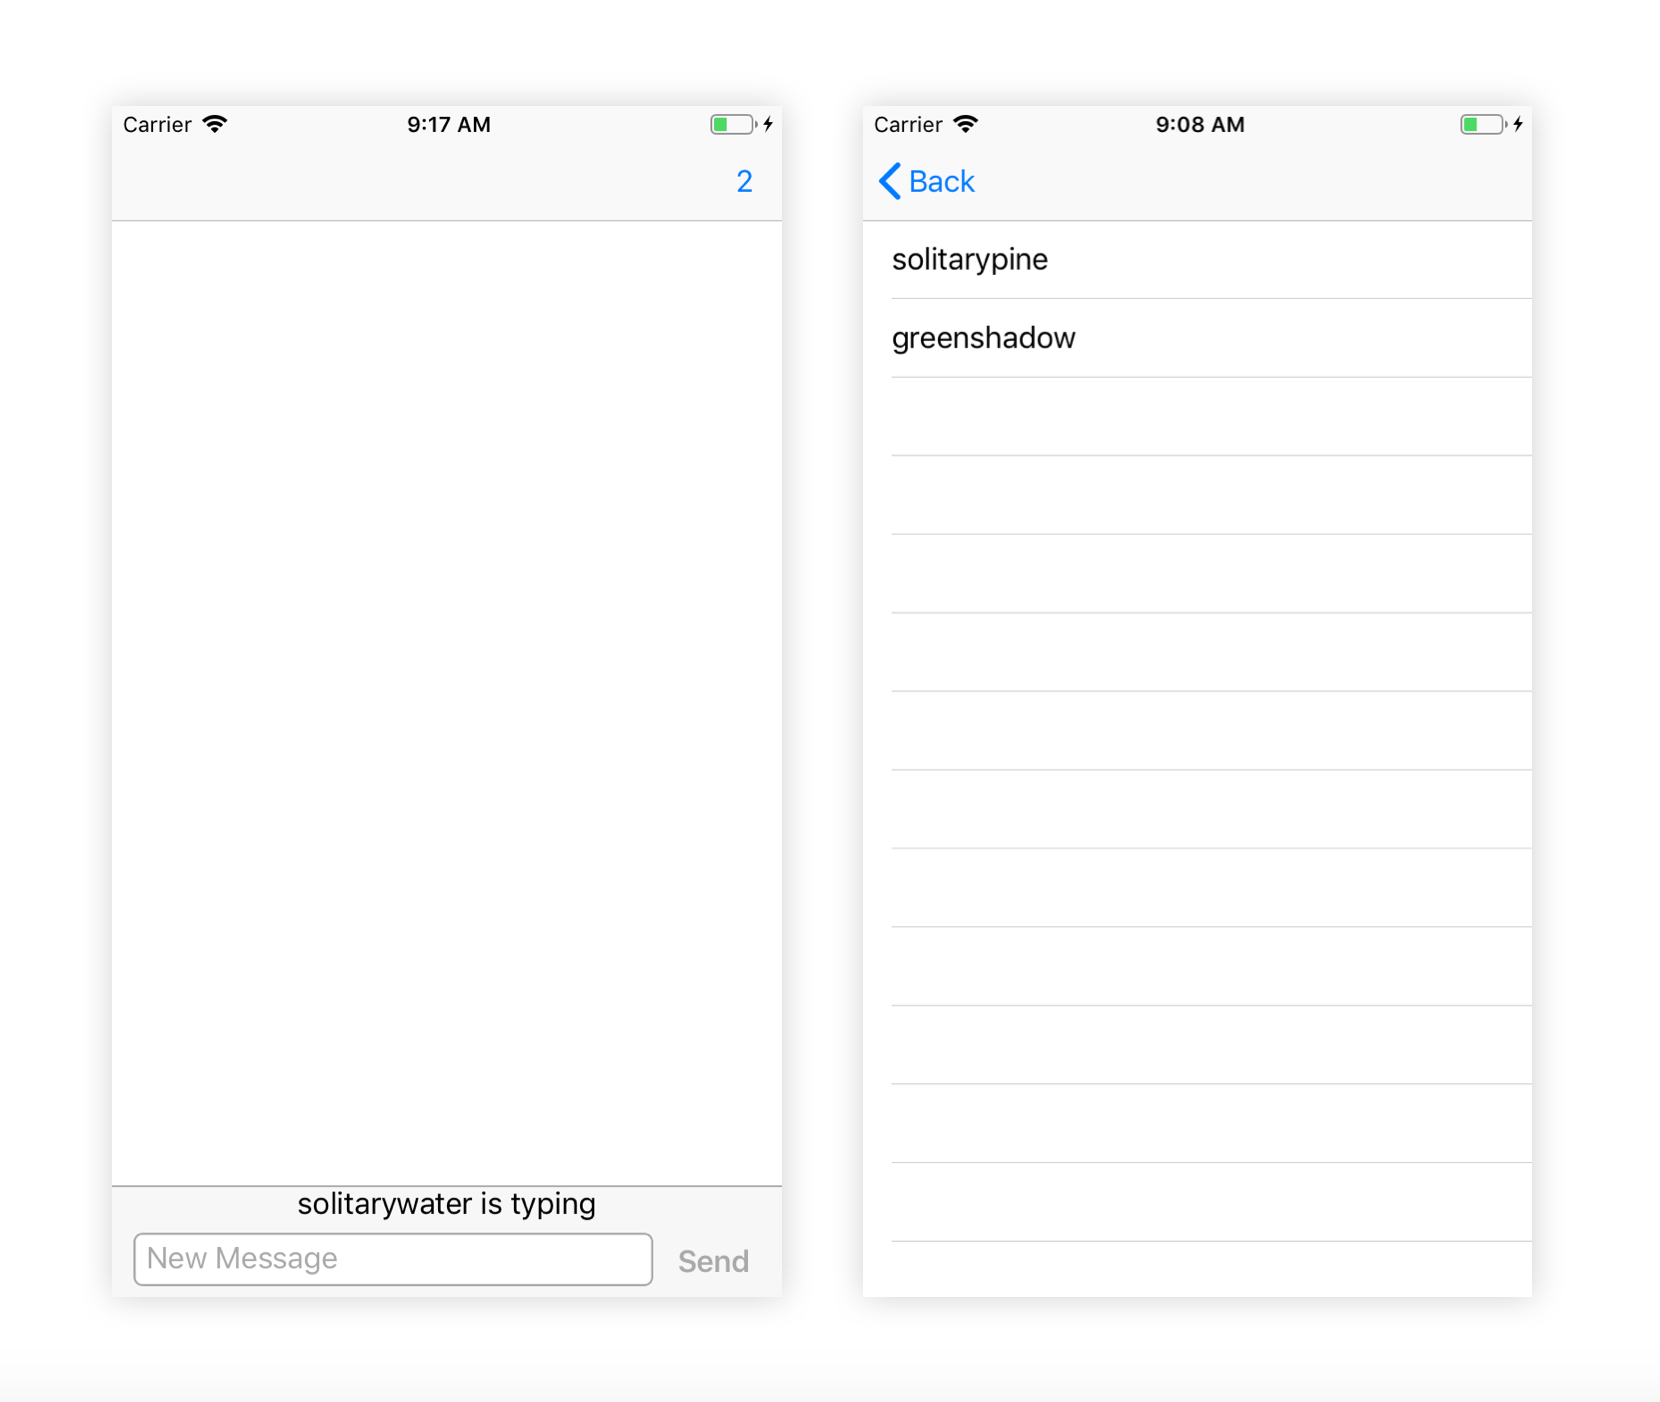
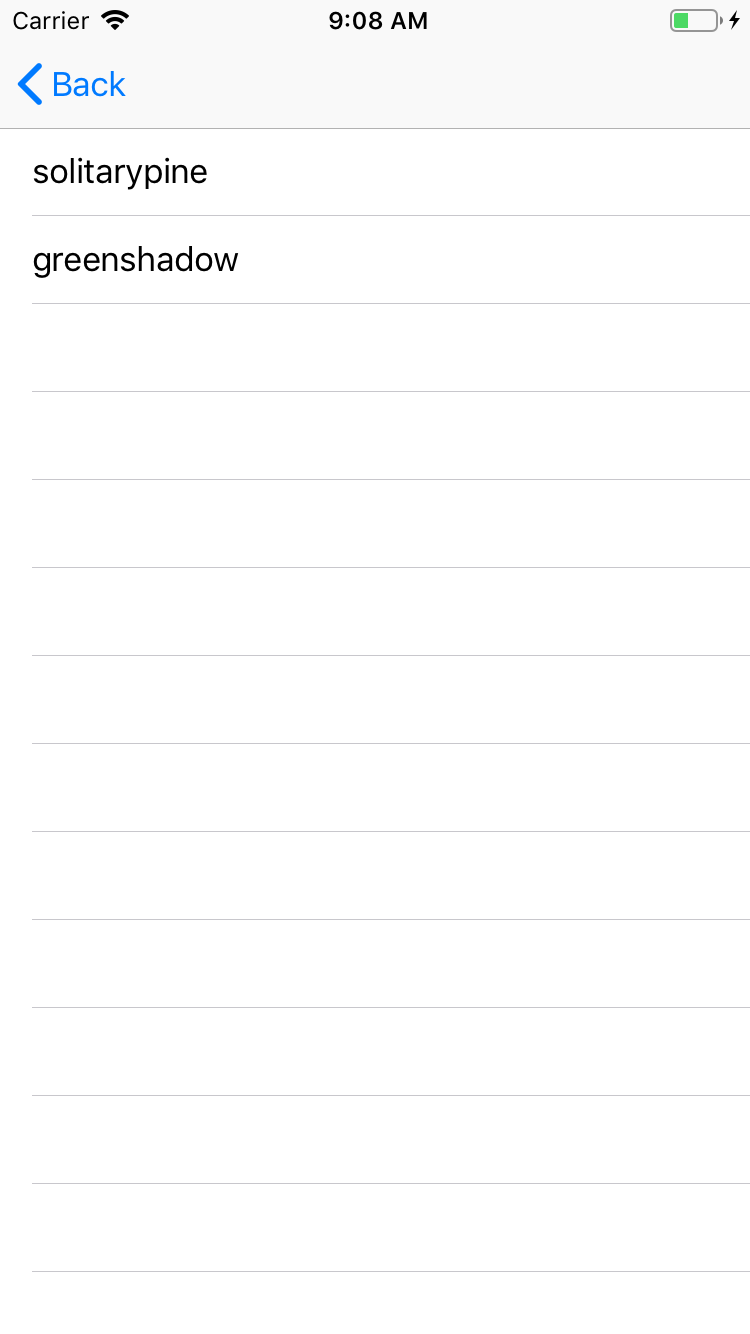
Run the app now. You should see the button's title update to "1", and when you tap on it, the list should show your username. If you open the app in another simulator or device, you should also see the new user in the list. Pretty cool, right?
Adding a Typing Indicator
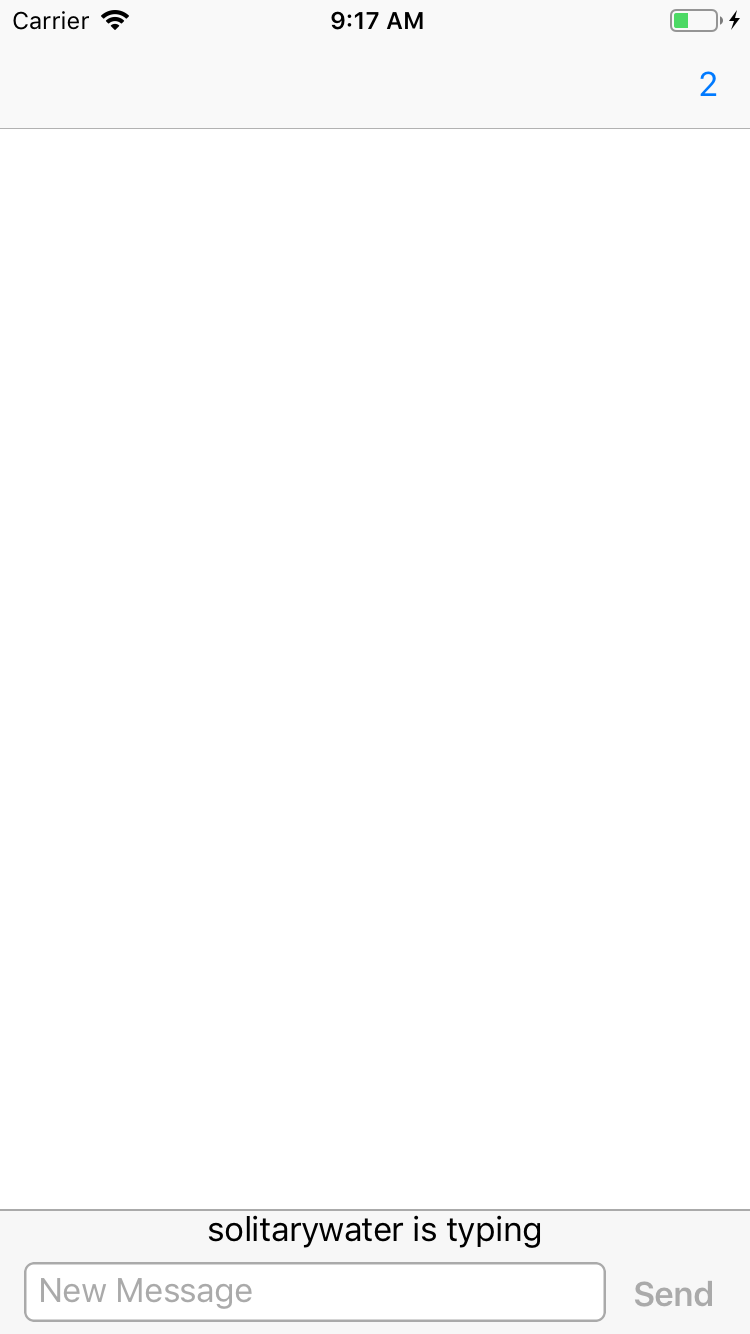
To show a typing indicator when a user is writing, a label will pop up from the bottom of the chat screen. This label will contain the names of all the users that are currently typing.
Let's start building this. In ViewController.swift, add the following lazy property to the top of the class, to create the label.
lazy var typingLabel: UILabel = {
  let label = UILabel()
  label.text = ""
  label.textAlignment = .center
  label.backgroundColor = messageInputBar.backgroundView.backgroundColor!
  return label
}()
Now we need to add it to the input bar. MessageKit has a stack based UI, so adding a new view to the input bar is pretty easy. Add the following line to the top of viewDidLoad:
messageInputBar.topStackView.addArrangedSubview(typingLabel)
To make the label appear and disappear we'll simply hide it inside an animation block. Add the following two methods to the class:
func showTypingLabel() {
  UIView.animate(withDuration: 0.3) {
    self.typingLabel.isHidden = false
  }
}

func hideTypingLabel() {
  UIView.animate(withDuration: 0.3) {
    self.typingLabel.isHidden = true
  }
}
Now that we have the UI, we need to hook up some logic to call these functions. Add a new property to the top of the class:
var typingMembers: [Member] = [] {
  didSet {
    let otherMembers = typingMembers.filter { $0.name != member.name }
    switch otherMembers.count {
    case 0:
      hideTypingLabel()
    case 1:
      typingLabel.text = "\(otherMembers[0].name) is typing"
      showTypingLabel()
    default:
      let names = otherMembers.map { $0.name }.joined(separator: ", ")
      typingLabel.text = "\(names) are typing"
      showTypingLabel()
    }
  }
}
This array will hold all of the members which are currently typing. Whenever this array changes, we'll update the state of the typing label. We'll filter out the current user from the array, since they already know if they're typing or not. :)
We need to modify ChatService.swift to tell us when the user is typing. Add a new property to the ChatService class, right underneath where you declared the message callback:
private let typingCallback: (Member, _ isTyping: Bool)-> Void
Now modify the initializer of the class to the following:
init(
  member: Member,
  onRecievedMessage: @escaping (Message)-> Void,
  onMemberTypingStatusChanged: @escaping (Member, _ isTyping: Bool)-> Void) {

  self.messageCallback = onRecievedMessage
  self.typingCallback = onMemberTypingStatusChanged
  self.scaledrone = Scaledrone(
    channelID: "YOUR-CHANNEL-ID",
    data: member.toJSON)
  scaledrone.delegate = self
}
Note: If you're copying and pasting code, make sure to set your channel ID!
This lets the ChatService notify the ViewController about new users that are typing, just like it's doing with messages.
To let our user notify the rest of the room of their typing status, we'll send a simple message containing a boolean for whether the user is typing or not. Add these two methods to the class:
func startTyping() {
  room?.publish(message: ["typing": true])
}

func stopTyping() {
  room?.publish(message: ["typing": false])
}
Since we attached the client data to our member, we don't need to send any additional information in the message.
We also need to parse this message when we receive it. Modify the contents of scaledroneRoomDidReceiveMessage to the following:
func scaledroneRoomDidReceiveMessage(
  room: ScaledroneRoom,
  message: Any,
  member: ScaledroneMember?) {

  guard
    let memberData = member?.clientData,
    let member = Member(fromJSON: memberData)
  else {
    print("Could not parse data.")
    return
  }

  if let typingData = message as? [String: Bool],
    let isTyping = typingData["typing"] {

    typingCallback(member, isTyping)

  } else if let text = message as? String {

    let message = Message(
      member: member,
      text: text,
      messageId: UUID().uuidString)
    messageCallback(message)
  }
}
This is a lengthy block of code but you have already seen most of it. If we find the typing data, we'll call the typing callback. Otherwise if we receive a new chat message, we'll call the message callback.
That's all we need to do in ChatService. Now we need to fix that error in ViewController.swift. Modify the part where you create the chat service in viewDidLoad to the following:
chatService = ChatService(
  member: member,
  onRecievedMessage: { [weak self] message in
    self?.messages.append(message)
    self?.messagesCollectionView.reloadData()
    self?.messagesCollectionView.scrollToBottom(animated: true)
  },
  onMemberTypingStatusChanged: { [weak self] (member, isTyping) in
    guard let `self` = self else { return }
    if isTyping {
      if !self.typingMembers.contains { $0.name == member.name } {
        self.typingMembers.append(member)
      }
    } else {
      if let index = self.typingMembers
        .firstIndex(where: { $0.name == member.name }) {
        self.typingMembers.remove(at: index)
      }
    }
  })
We'll add a new parameter to the initializer for handling the typing status. This is similar code to the way we handle online members: if a new user starts typing, we'll add them to the array. If they stop typing, we'll find them and remove them from the array.
One final thing we need to do is to actually call the methods to send the typing status updates. Thankfully, MessageInputBarDelegate has a method to track changes to the input bar's text. That's exactly what we need. Add the following method to the MessageInputBarDelegate extension:
func messageInputBar(
  _ inputBar: MessageInputBar,
  textViewTextDidChangeTo text: String) {

  if text.isEmpty {
    chatService.stopTyping()
  } else {
    chatService.startTyping()
  }
}
Finally, add the following line to the end of messageInputBar(_:didPressSendButtonWith:):
chatService.stopTyping()
Now the rest of the room knows when the current user is typing.
Run the project on two different simulators. Try typing on one. You should see a label pop up from the other simulator saying that the user is typing.
Easy Peasy
Now your chat app is starting to look like the real deal! WhatsApp better look out, there's a new player in town. :)
You can find the full source code on GitHub. This tutorial only scratched what Scaledrone can do for you and is the ideal basis for any of your future realtime needs.
Last Updated July 1, 2023